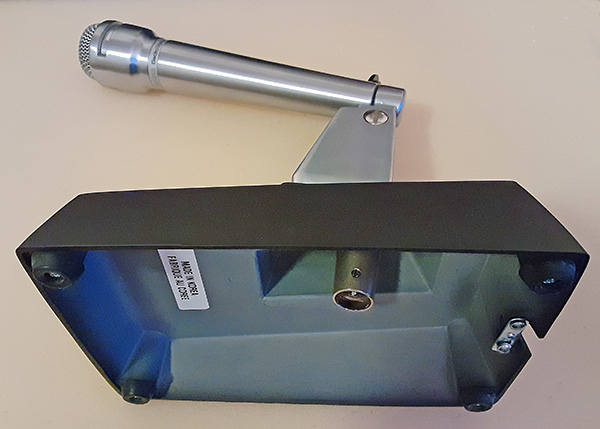
The Electro-Voice 664A
desk stand mounting

An XLR (A3F) connector fits beneath the stand if its strain relief is removed. (Otherwise, it sticks below the stand.) If one chooses to do so, one can cut the strain relief with a razor blade, insert it back into the XLR, and tighten its two screws (which are visible in the photo above) to clamp the mic cable. Furthermore, notice a second strain relief made of metal is built into the stand, and its strap has a dimple that can be turned to face a small-diameter cable that might not otherwise be properly secured. Finally, the large brass screw is easily tightened or loosened with a coin.
This alternate view shows the A3F fitting nicely under the stand sans its black Neoprene strain relief.
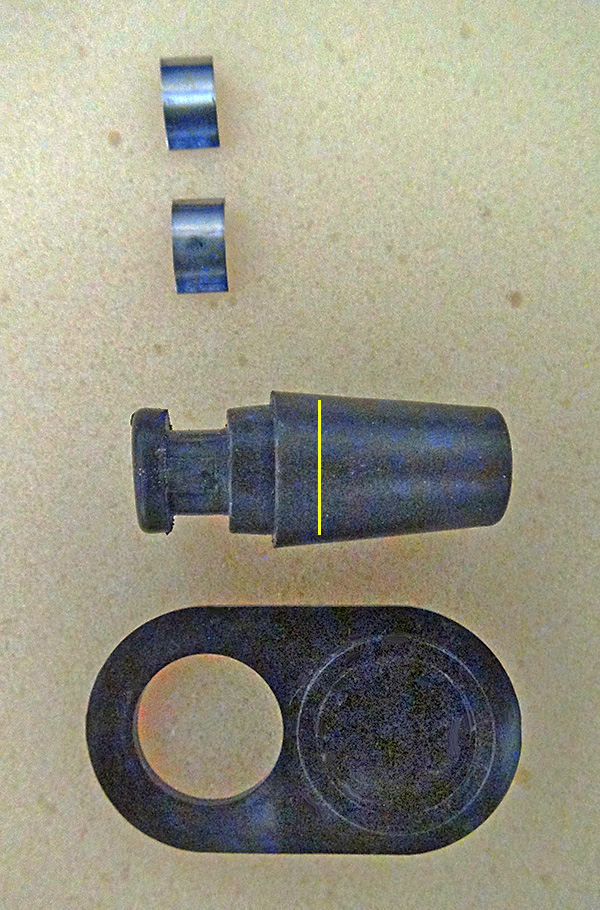
Top to bottom: 1. Two curved metal pieces designed to fit into recesses of the black Neoprene strain relief, against which screws will exert pressure, clamping the mic cable. 2. The strain relief, marked with a yellow line where it should be cut if it is to be used in the A3F for a stand such as this. 3. The escutcheon plate, which can be used with a different style of microphone to fill the hole. For this mic’s installation, the escutcheon is not used.
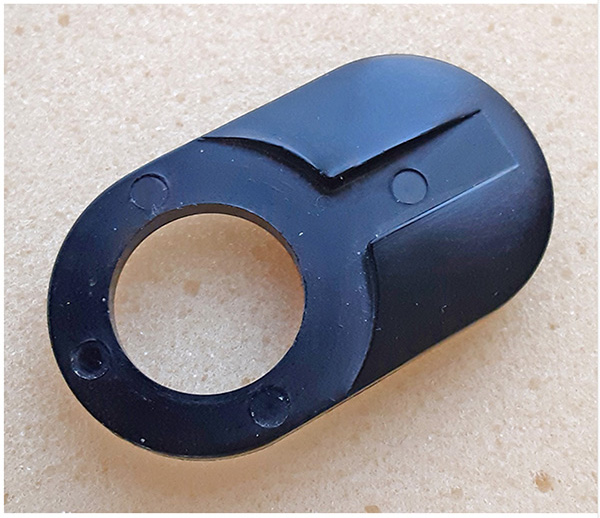
The top side of the Escutcheon plate.
Stand adapter with protrusion (at its top in this particular image) that fits into the escutcheon slot. This prevents the mic from turning sideways on its stand. (If someone does turn the mic to the side, the stand turns with it.)
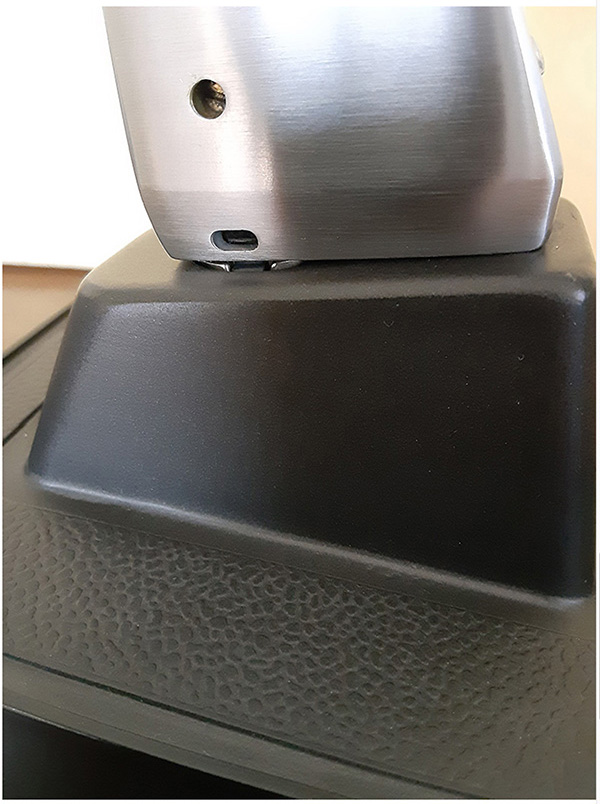
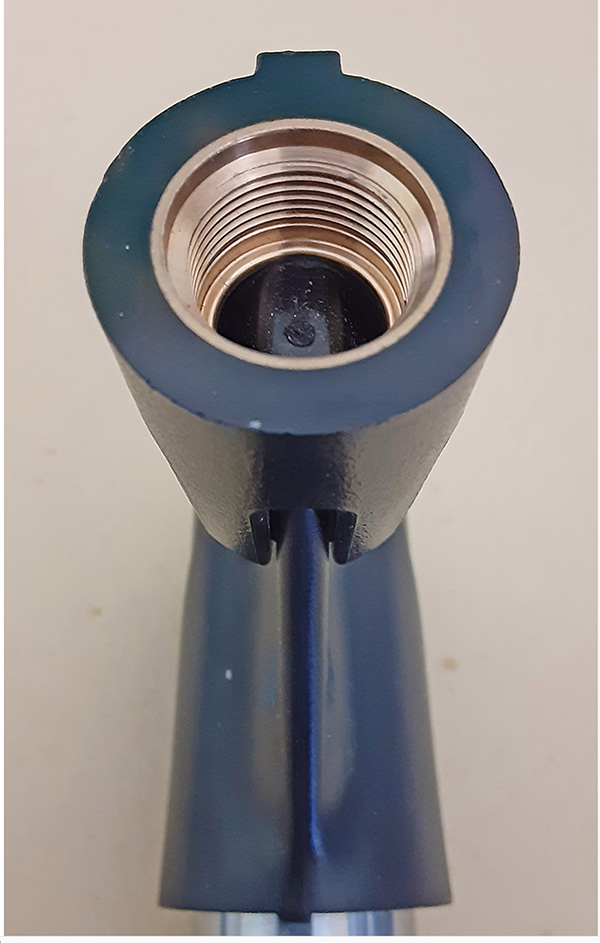
Round hole: Loosen screw with small screwdriver blade to release the A3M plug from inside the mic if wiring modifications are needed. (See Figure 4 below.) Oval hole: Insert small screwdriver blade and press inward to release the A3F from the mic when the mic is mounted on a stand like this one. Go ahead. Try sticking your fingers in there to release the A3F from the stand! Immediately below the mic one can just see the shiny metal top of the A3F receptacle.

|